Rollout Kit for Appointments and Queuing Software
A roadmap for successfully introducing scheduling software at your institution.
What’s Inside
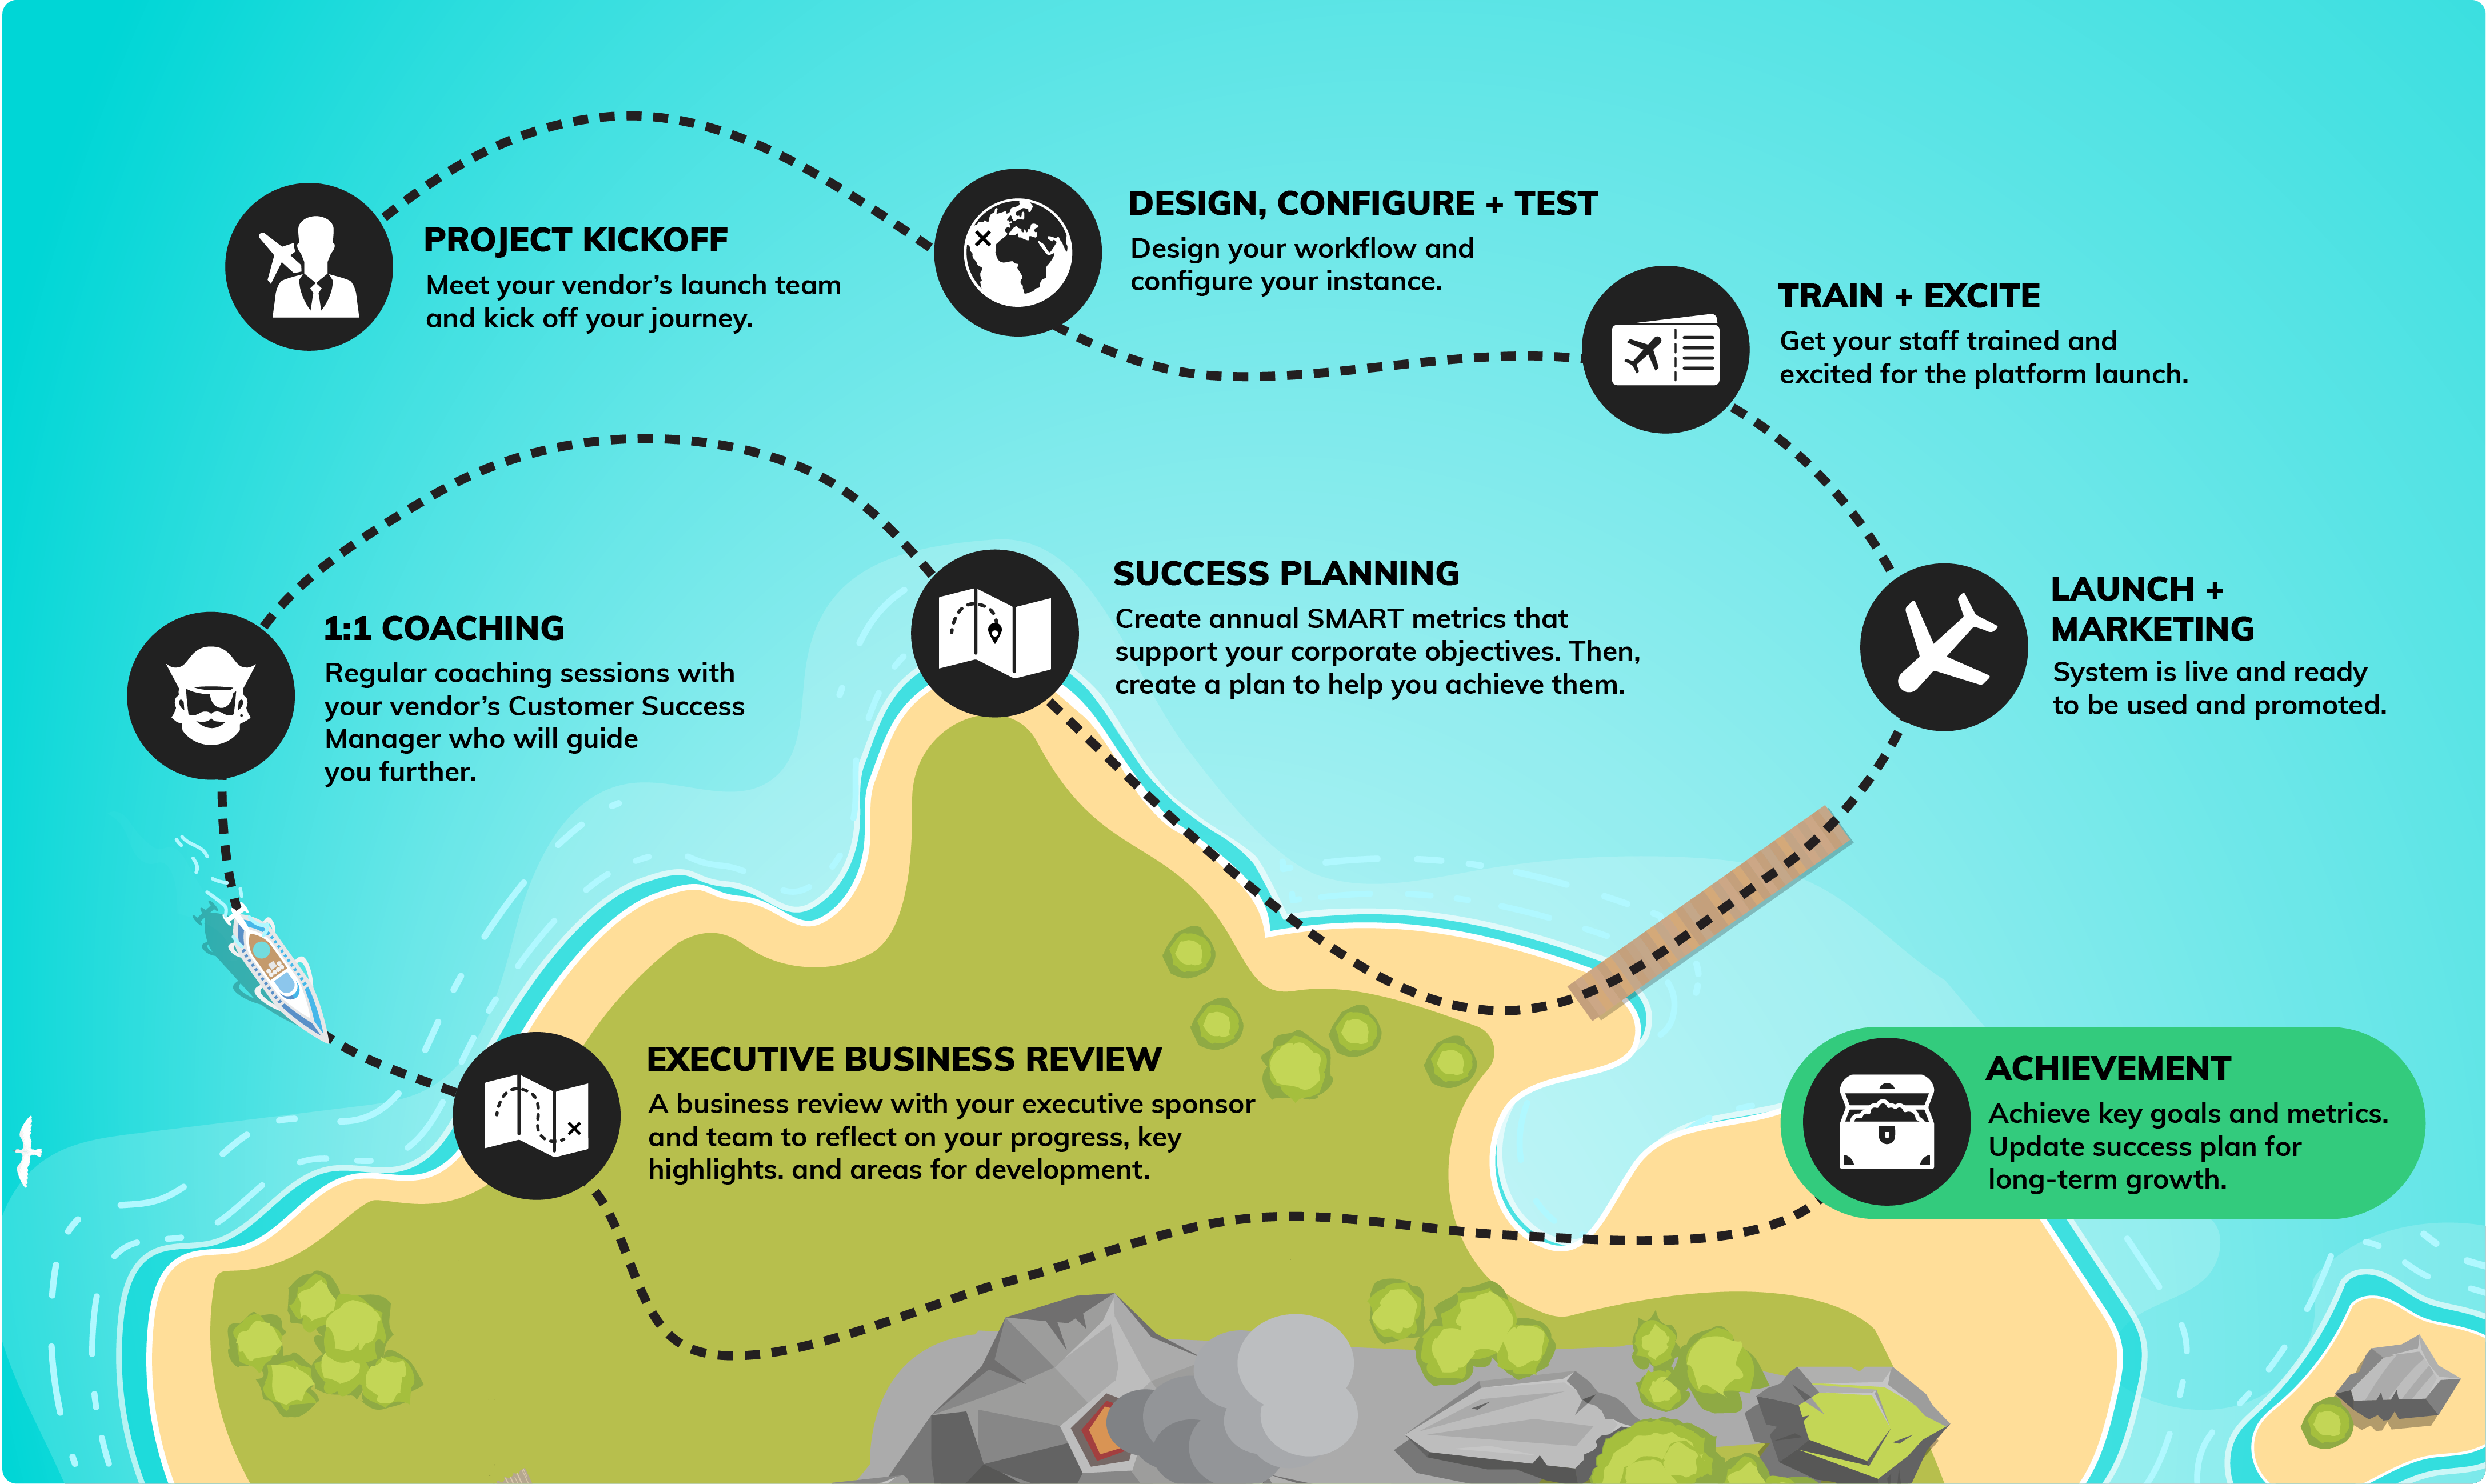
The Eight Steps of a Successful Rollout
Best Practices and Things to Know Before You Begin
Helpful Checklists, Templates, and Launch Resources
![]()
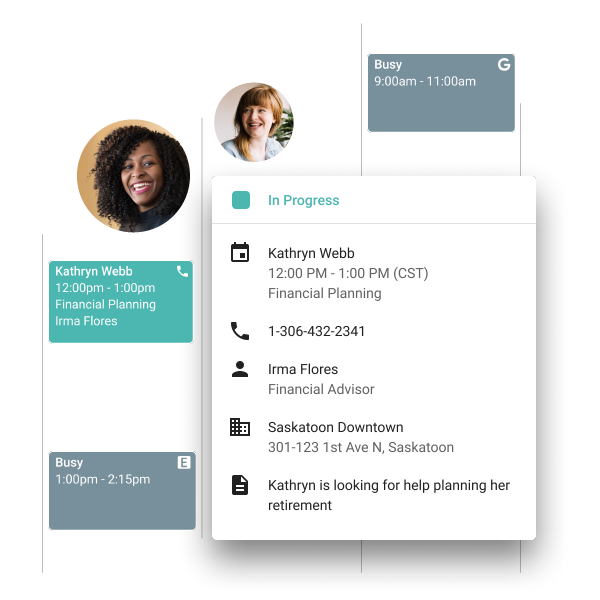
Which Software Should You Buy? 💻 👀
Read: Picking Appointment and Queue Software for Financial Institutions
Implementing appointment and queue management software is your first step toward improving the client and staff experience. But purchasing this new software isn’t the end of your journey—it’s the beginning.
How that tool gets implemented (and how your software partner helps you) is critical to its success. That’s why it’s so important to know what’s coming, to be prepared, and to gather your data early.
To make the rollout even easier, the pros here at Coconut (who’ve helped 150+ institutions launch solutions) have created this handy launch kit, full of advice, checklists, and a roadmap for making your launch a success.


Training Approach Guide
Topics:
General System Walkthrough
Attendees:
Managers, Staff, & Receptionists
Length:
45 minutes, recorded
15 minutes buffer for Q&A
Topics:
Managing Staff & Reporting
Attendees:
Branch Managers
Length:
15 minutes, recorded
15 minutes buffer for Q&A
Topics:
Appointment Booking Tool
Attendees:
Contact Center & Receptionists
Length:
15 minutes, recorded
15 minutes buffer for Q&A
Topics:
Managing Staff & Reporting
Attendees:
Managers, Staff & Receptionists
Length: 15 minutes, recorded
15 minutes buffer for Q&A


Data Collection
Data Needed
- Location Name
- Address
- City
- State/Province
- Country
- Timezone
- Public/Private Location
- Service Title/Name
- Service Description
- Length of Service
- Public/Private Service
- First Name
- Last Name
- Email Address
- User Name
- Public/Private
- User Role & Permissions
Optional Data Points
- Phone
- Extension
- Opening Hours
- Service Instructions
- Service Category
- Buffer Time
- Group Service
- Time zone
- Language(s)
- Job Title
Data Sources
Operations Team, Company Website
Member Experience, Operations, Marketing
Member Experience, Branch/Retail Leads, HR
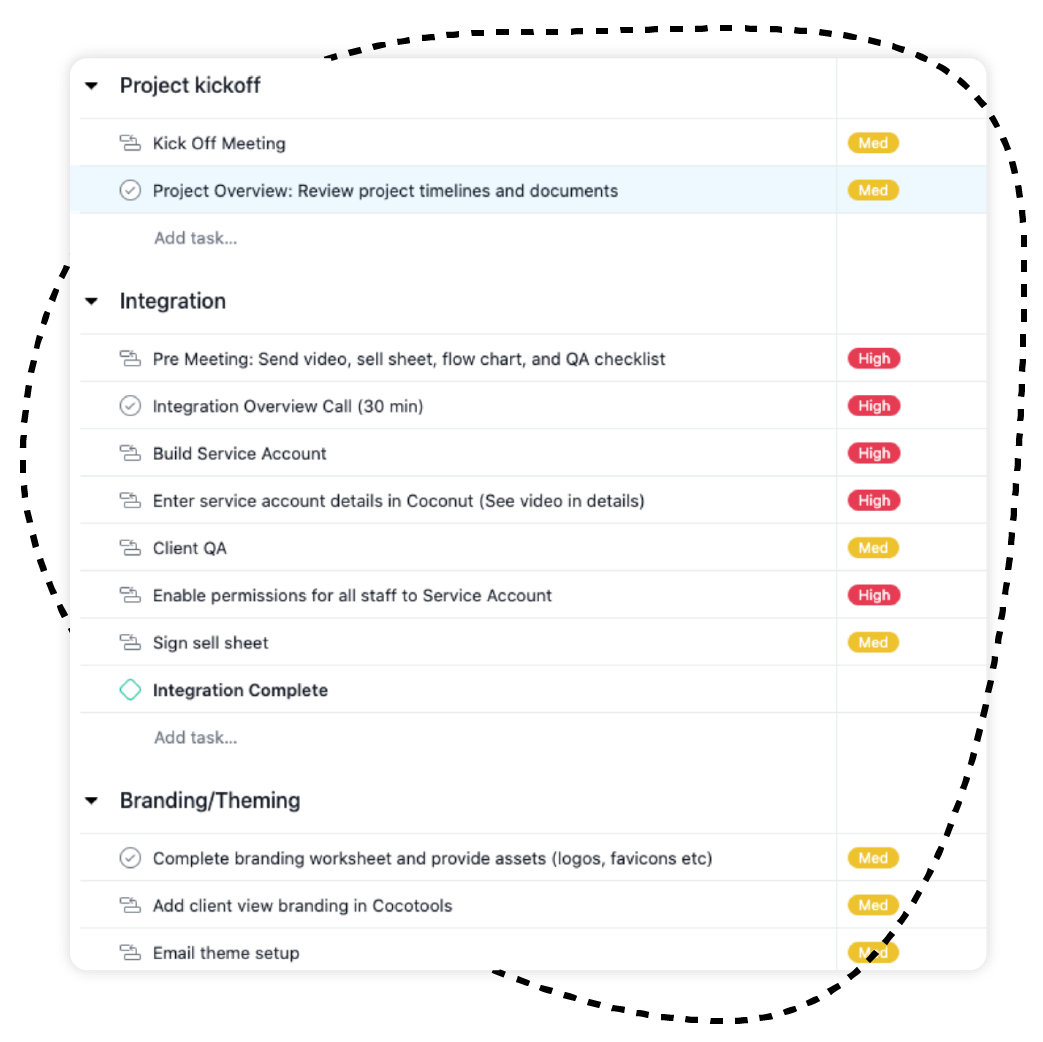
3. Be the System Owner From Day One
During setup, avoid asking your vendor to set up everything for you. Instead, have your team do it themselves (or alongside your vendor) so they learn. People learn by doing, and it’s only by struggling through that they formulate the questions that lead them to true learning.
Make sure critical members of the launch team are well-trained on the system—especially if they’re the ones training others. Otherwise, their lack of expertise may trickle down and impact usage. It also creates the possibility that things don’t get set up right, and by the time you realize it, you may need to do a system cleanup or repeat training.
“One of my best clients had a smooth, seamless implementation from start to finish. I’d give them due dates and they’d say, “Let’s do it sooner.” They took a lot of ownership and did things themselves. As a result, they got set up faster and needed less help because they knew what settings to change.”
STORM DAVIS
Implementation Manager, Coconut Software

4. Know That the Toughest Part Will Be Getting People to Change
Just because clients can book appointments and staff can receive them doesn’t guarantee it will happen. People tend to resist change, so the success of your rollout largely depends on how well you “activate” the tool and get people to incorporate it into their lives. This is known as “change management.”
A few ideas to help:
- Consistently market it, internally and externally, for at least one year
- Have a themed launch celebration day with costumes, treats, and promotions
- Offer clients a small prize for booking an appointment
- Give the in-app copy some personality—possibly with emojis
- Create how-to videos for both clients and staff
- Create internal prizes: first appointment booked, most appointments booked, first person to fully set things up, etc.
- Nominate an appointment software expert at each branch, with an incentive
- Hold managers accountable for team usage and performance

![]()
Change Management Tips
Without staff buy-in and usage, you won’t get customers or members using the system. To help ease the transition to using new software, try to get as many of the items on this checklist done as possible before, during, and after the launch process:
☑️ Create an ‘FAQ’ for the initial introduction (See sample questions to answer below)
☑️ Create a table showing roles and responsibilities for frontline staff, managers, advisors, etc.
☑️ Clearly outline policies for appointment reminders, wait times, notifications, rescheduling, etc.
☑️ Host live in-person and/or virtual training sessions for questions and demonstrations
☑️ Create your own “how to” videos for folks to watch outside of formal training sessions
☑️ Add instructions or training tools to your learning system or training documents
☑️ Create formal training with a quiz to show certification with the system
☑️ Have super user/manager feedback sessions planned to learn about challenges or get feedback
☑️ Provide prizes or other incentives to staff who use the system, get the most appointments booked
☑️ Nominate a platform expert at each branch to help train others and handle questions
☑️ Regularly promote customer or member success stories internally
![]()
Internal Staff FAQ Sample Questions to Answer
- What is the purpose of this platform?
- How does it work, at the highest level?
- What are the benefits it will bring to our organization? Our customers/members?
- How will this impact my day-to-day tasks and responsibilities? (Based on role.)
- How flexible is the system? What settings can we change ourselves?
- What kinds of services will be available through this new system?
- What do I do if I experience an issue or need help?
- How and/or when will we receive training? What resources are available?
- What is the launch day? What is required of me by this date?
- Are there any goals or metrics I will be responsible for?
- How does this change our in-person experience? Our virtual experience?
- Are there other options if customers or members decline to use it?
![]()
IT Team Task Checklist
☑️ Active Directory sync instructions
☑️ SSO sync instructions
☑️ Video software sync instructions
☑️ Allowed IP addresses list
Marketing Launch Checklist
Your Main Website
☑️ A direct link from your website home page
☑️ An embedded view of the booking site on your home page
☑️ A link in the header or footer of your website
☑️ Booking shortcuts (based on service, location, or staff member) on various relevant pages and/or your branch locator
☑️ Book directly from Google search results
In-Branch
☑️ Include links or QR codes to scan on in-branch signage
☑️ Promote on rotating digital displays (show a video or include a booking link)
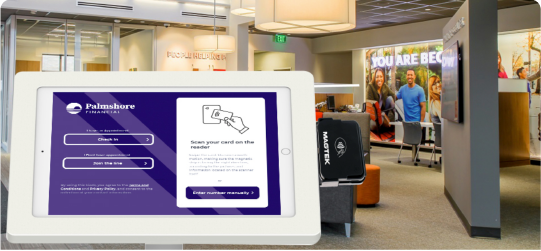
☑️ Embed into welcome kiosk or iPad
☑️ Include links or QR codes on brochures, surveys, or other in-branch marketing materials

Digital Marketing Channels
☑️ Include booking links on monthly financial statements or recurring notifications
☑️ Conduct email marketing, or include CTA at bottom of all email campaigns
☑️ Add to staff email signatures
☑️ Share direct booking links on social media
☑️ Add direct booking links to mobile banking app